TIPS AND ADVICES.
TIP #01 – DO YOU WANT TO LEARN HOW TO DRAW? READ THE FOLLOWING ADVICE BEFORE PICKING UP YOUR FIRST PENCIL.
Art is quite broad, if you have made the decision to start in the world of illustration I would first recommend you to focus on the style of art that you like the most. Some illustrators have opted for a cartoon style, others for a more realistic style, and even both styles at the same time, So what’s yours? What kind of art do you feel most comfortable with? keep in mind that this is extremely important, if you like a particular style it will have its own rules, if you deviate from the path you will be moving away from your main goal. To exemplify, imagine you like to draw in the style of SpongeBob, is it necessary for you to spend year after year studying perspective and human anatomy? Hey! don’t get me wrong, perspective and anatomy is also used in this style of drawing, BUT NOT IN DETAIL OR IN DEPTH. So why are you going to focus on it? PRACTICE ONLY WHAT IS NECESSARY BASED ON THE DRAWING STYLE YOU LIKE THE MOST.
Now let’s talk briefly about the realistic style, something commonly seen in comic and manga artists. If you have opted for this style, the road to achieve that goal will be longer. A path of constant challenges, where you will finish one and then start another.
In short, draw the style you find most attractive and don’t deviate from it. Not all of us have the same taste in art, choose yours and DRAW!
TIP #02 – «KNOW» BEFORE YOU «DO»
A useful tip when you are faced with a blank sheet of paper is: «KNOW» before you «DO«. What does this mean? It means that you have to know what you are going to draw before you draw it on paper, This will take only seconds in your mind and we will exemplify it in the following way: Let’s imagine that we are going to draw a person walking, maybe the first thing that will come to your mind is that the person is standing, very well, and… then what? at that moment your mind will probably go blank, it could be a creative block. then, what you should «KNOW» is that when a person is walking their right arm and part of the shoulder will be in an opposite posture to the leg on the same side. That is, the arm and part of the shoulder will go forward while the leg will go backward. The same will happen in reverse, if the shoulder and arm go backwards, the leg will go forwards, you should apply the same method for the left side of the person. Let’s look at the following illustration.
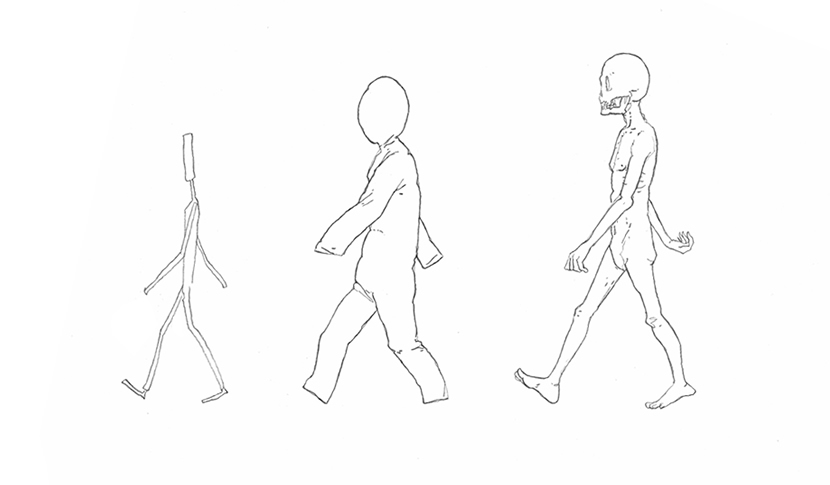
This is the typical and classic pose of a person walking. You can do it with lines, add fill, etc. it doesn’t matter if the drawing is anatomically perfect, but if you already “KNOW” which posture to “DO” you will be taking an important step when you start tracing on paper.
This can be applied to other elements, for example if I want to draw a person showing surprise, the first thing that comes to my mind is the forehead showing creases or wrinkles, depending on the age, the eyelids open wider showing the iris and pupil, the open mouth makes the face elongate and change shape.
While it is true that you can solve this by looking at references, this method will help you to do it without that, giving you more freedom at the moment of drawing and expanding your mental library.

TIP #03 – «FACES»
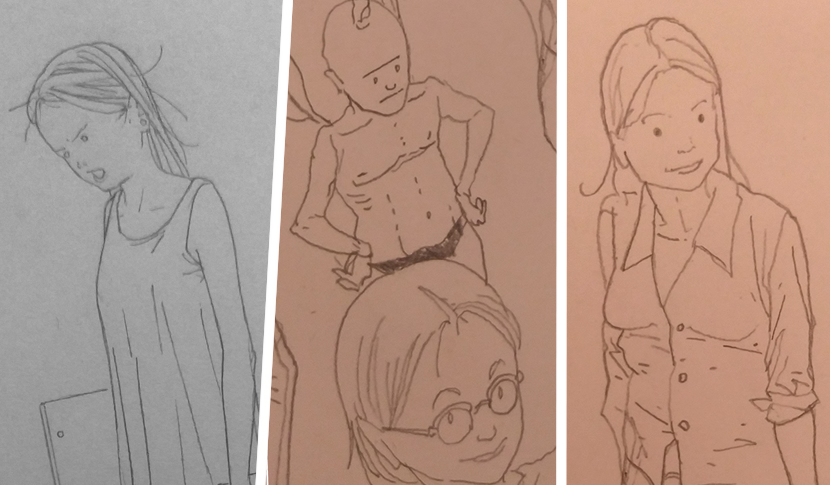
Drawing faces is not easy but it is not impossible either, keep in mind that the variety of types of faces is huge, and this is due to the size and distance of the components that make up the face, I mean eyes, nose, eyebrows, mouth, ears, etc. play with each of them, everything will depend on the position and shape you give it. To exemplify you can draw two faces, in the first one the eyebrows will be bushy, in another drawing they will not, in the first one the distance of the eyes with respect to the nose will be closer, while in the other one it will be farther away, in the second drawing the size of the forehead will be smaller than in the first one, in the first drawing the distance between the mouth and the nose will be bigger than in the second drawing, in the first drawing you will add a beard, in the other one only a mustache. As you will see, the number of combinations is very wide, at the beginning it is likely that you do not like the result and it is completely normal, practice this method a lot and you will notice better results as time goes by.
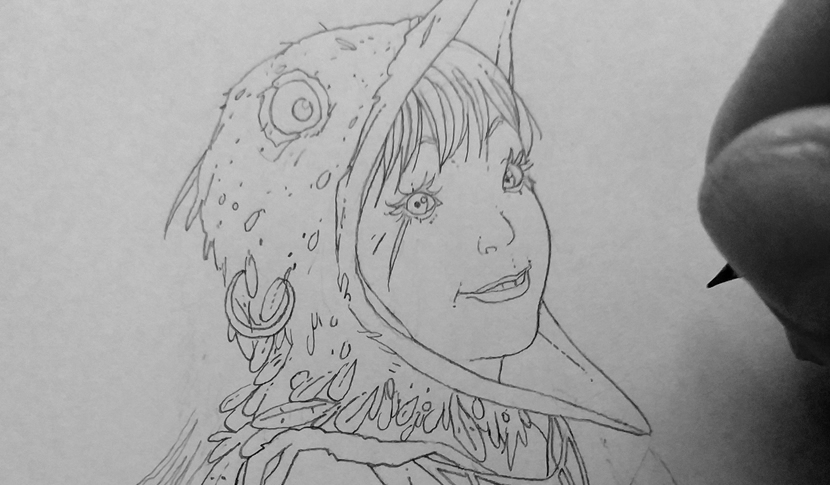
As an additional fact, I recommend you never forget to draw the philtrum, it is that kind of indentation between the nose and the upper lip of the mouth, you can use a light line, if what you want is to draw more human features this simple line will help you a lot.
TIP #04 – FASHION DESIGNER ?
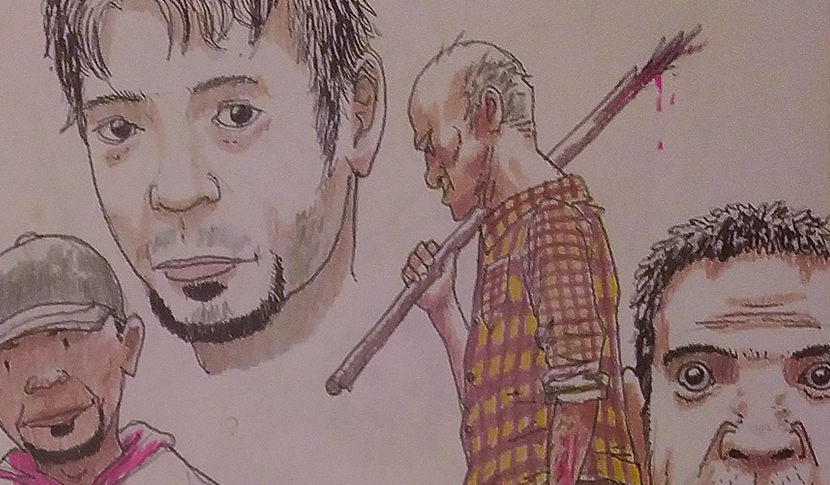
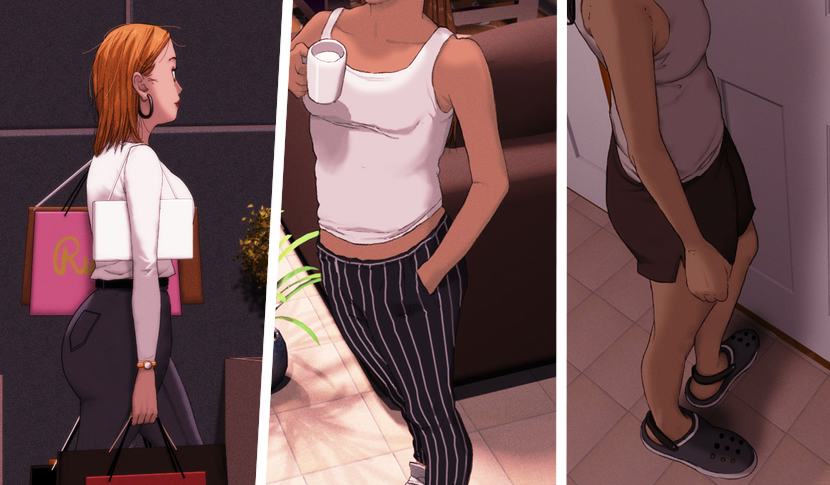
When drawing characters (especially if they are set in a specific era) try to experiment with their outfits. Drawing people with only one outfit like the classics: white t-shirt, blue jeans, sneakers, is fine at the beginning, but it’s something you should vary as time goes by, maybe a t-shirt with a print on it, instead of sneakers you could draw some boots, add a hat, dark glasses, jacket etc. there is an infinity of outfits with which you can experiment, as references you can see on television, magazines, internet or when going out in the street, each person has their own way of dressing, formal or casual clothes, when you have the opportunity to draw a group of people and you apply this method you will be giving your illustration an added and interesting value.

TIP #05 – EXPANDING YOUR VISUAL LIBRARY.
Don’t let the lack of paper and pencil at hand stop your learning process, when you are out of your comfort zone visualize everything around you, memorize objects, postures, situations, how a person is sitting, how they walk, how they stand, how their clothing reacts to either wind or gravity, how they are dressed, the lighting, shadows, etc. all of this will help to feed your visual library which you can then put into practice. If you have the opportunity to bring a Sketchbook to hand and draw live, so much the better.
TIP #06 – DRAW DOTS INSTEAD OF EYES.
This advice should be applied only when you make small drawings, those that do not even cover half of the sheet of paper. Avoid detailing the eyes, because in real life if you are looking at a person from a distance, you will most likely not even know the color of the person’s eyes. In this case I prefer to draw dots instead of eyes. Although if you like you can also do it for slightly larger drawings. I still do it. : )
TIP #07 – CONTROL YOUR FIELD OF VISION.
If you are starting in the world of illustration, try to draw small objects, or rather, keep them within your range of vision. The range of vision is everything that is available to your sight. Try to draw everything that is easy to locate on the paper without having to look away or get up from your chair. For example, if you draw a full-body face or character that covers an A4 sheet of paper, you will probably have to make certain calculations and movements in your range of vision so that the result has the right proportions. (typical errors such as: head larger than the body, one hand larger than the other, extremely long legs, etc.) all of this improves with practice and persistence.